Posts

Showing posts from August, 2022

Turquoise Landsknecht-ish - final steps

Image
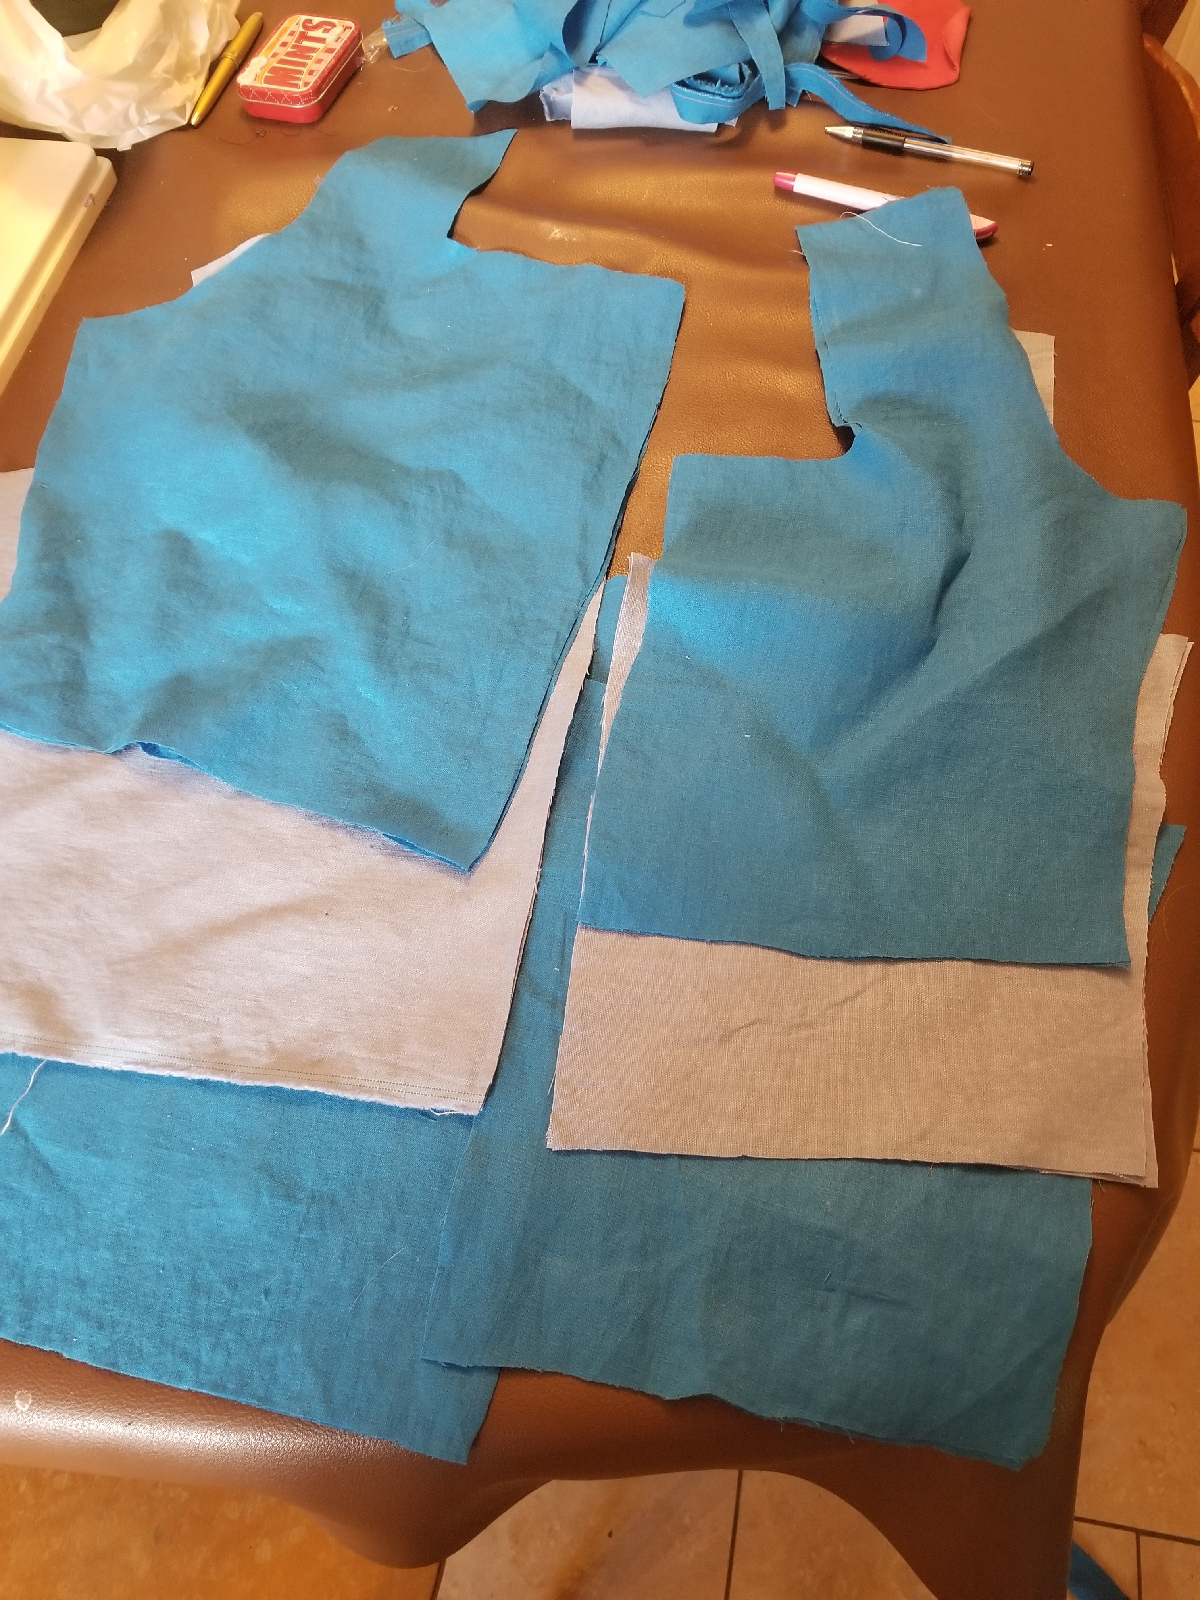
We have a dress! There it is, hanging with the underdress I am hoping to wear, if it isn't too hot (it's poly), and my trusty and very comfortable green linen... Tunic? Kirtle? Underdress? To get here... As the time for the event clicked closer, it was time to quit worrying and to just start the final construction. Skirt... Check. Bodice? Check, but too long in front. Guards? Check, but corners are rough.  To fix the bodice hitting in the wrong spot, I decided to just close my eyes and cut. I laid out the bodice and noticed how much the front overhung the back. I folded, marked, and then... Cut. Terrifying!  Problem solved. Then I made a slit in the front of the skirt and did a little hem. The thread showed more than I wanted but it's ok. The fun part. Pleating! As I am fast running out of time, and I have no court clothes, I pleated the only way I know... Divide and conquer! It's the technique from the pattern of the red

Honeycomb smocked apron

Image
Who doesn't need a smocked apron? I took some inspiration from here, and went in with my usual overconfidence. What's the worst that could happen? Where she references A or B smocking, I decided to try technique B.  http://www.medievalsilkwork.com/2010/06/smocked-apron-tutorials.html  I took a piece of linen, about 40 inches wide and I'm not sure how long. Rolled the side seams, then hemmed the bottom. One side always looks better than the other! I used silk thread and I just love how it looks. Then, I centred the smocking, 10 lines, and drew the dots 1cm apart. The dots started to disappear much more quickly than I was prepared for, so that was a drama. I followed Katafalk's tutorial on honeycomb smocking using linen thread (https://katafalk.wordpress.com/2010/02/05/honeycomb-smocking-tutorial/). Overall it will look ok, but I didn't "nail it". The first time I did honeycomb it was around wrists and I had ga

Turquoise Landsknecht-ish - Bodice

Image
Let's make a bodice. I forged ahead with my original pattern, even though I wasn't 100% thrilled with the fit. I had three layers - outside and lining in the breezy turquoise linen, and I interlined with a sky blue, slightly heavier, linen. I sewed the front and interlining together so I only had to worry about two pieces, an inside and an outside. I did not use period techniques. I used a machine to stitch them together. Like this... Stitching well behind the seam allowance. Next was to stitch together the pieces, first the interlined pieces, then the lining. There's the back join, then under the arms, and lastly at the shoulders. Press for success - ironed all seams open. I then stitched along the front opening and around the back (wrong sides together)... Dangit, look at that bunched seam. I fixed that. Then finally I clipped the corners and turned it right side out. I pressed again. I love to pin, a