Posts

Showing posts with the label 15th century

It's a schaube! It's a müzl! It's a schaublein?

Image
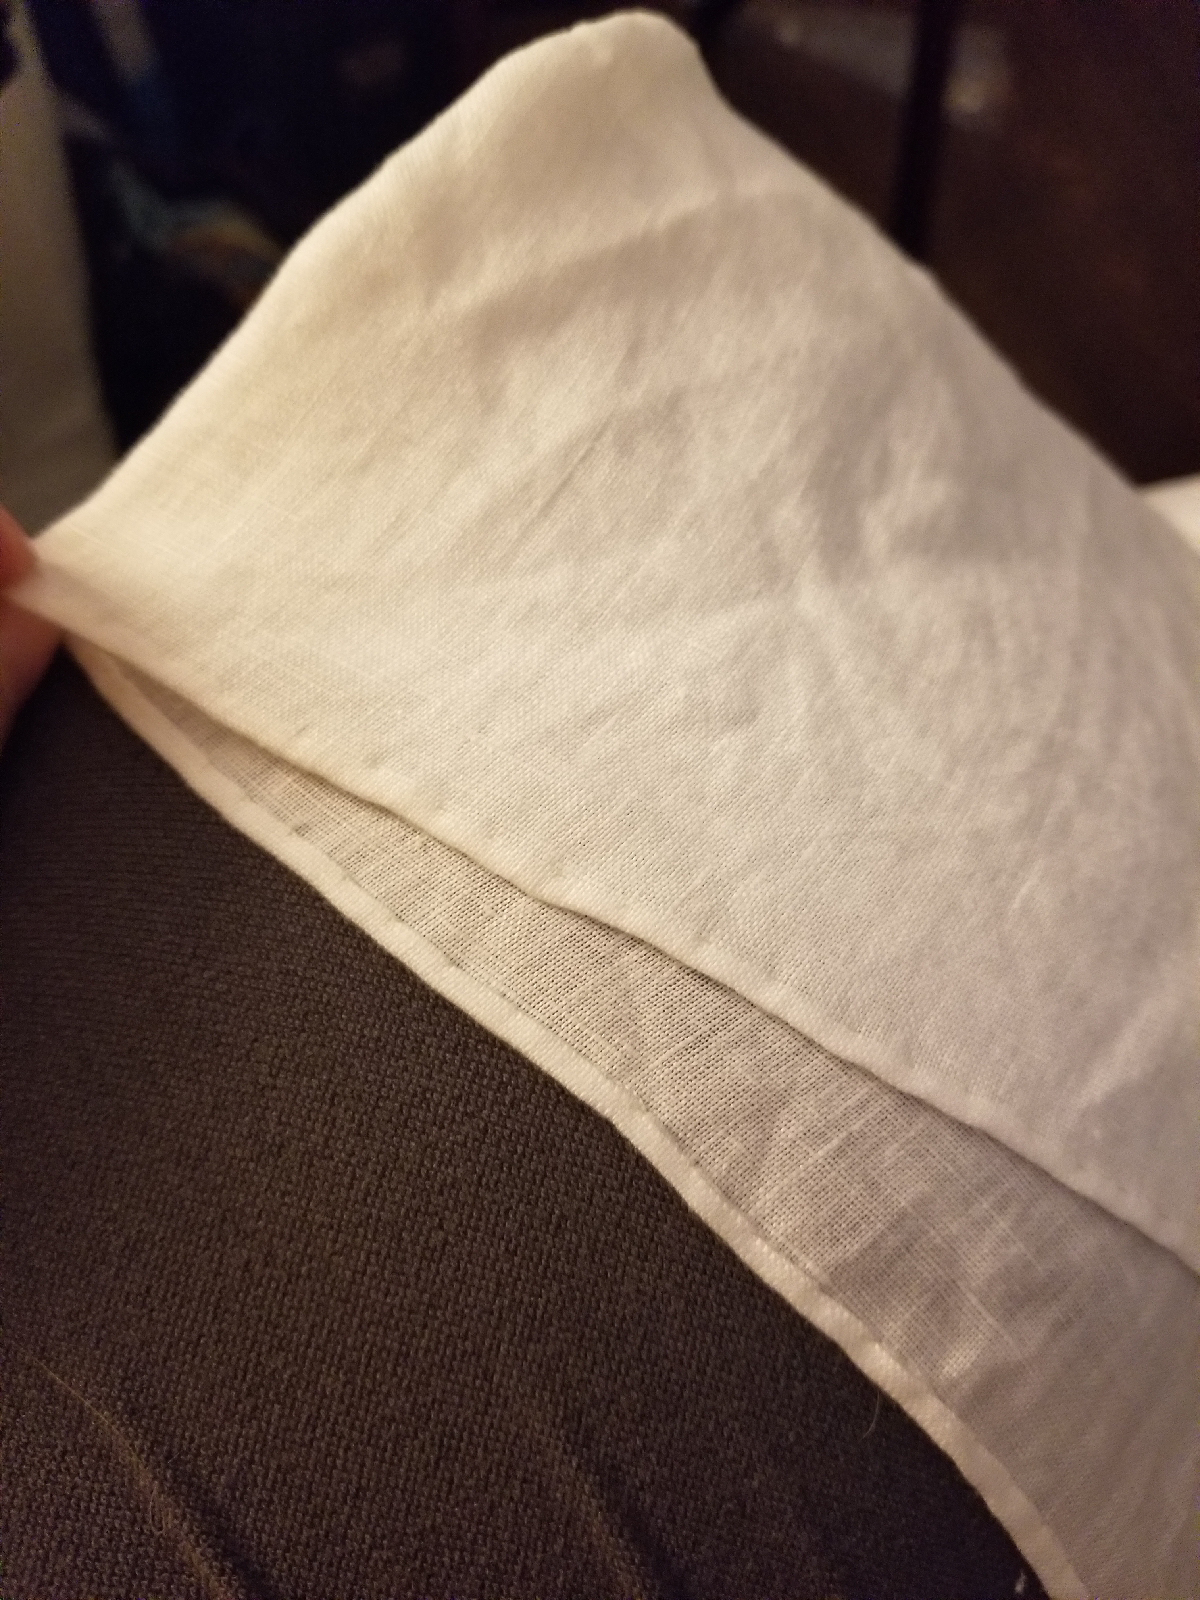
Just back from a wonderful weekend of SCAdian adventures, this time a record breaking Tir Righ February Investiture. Yesterday morning I had some time to talk garb with someone I hold in high esteem. Now I have plans, and a road map to get to the next section. She reached out with an incredible short video of a gentleman making a couple of folds, a couple cuts, and boom! There's a cape/gollar. Really cute. We had a short chat about the garment, and she said that in Marion McNealy and Katherine Barich's's book "Drei Schnitterbücher", there is a pattern for a short shaube/ long müzl/gollar type garment. It is really a "schaublein", or little schaube. I pulled out the book and wanted to take my day off to give it a try. First, let's make the muslin pretty with some ironing: Then I did some math. I'm hoping to use this as a learning experience for when I want to make historical patterns work in a future project: First piece wa...

Grey Wool Kirtle 15th Century - sleeves!!!

Image
It was time to try doing sleeves.  Using Morgan Donner's "Drafting a Medieval Kirtle Dress Pattern" video as a guide, I drafted sleeves.  https://www.youtube.com/watch?v=yED06QFK2Q4  These were ok, but I wanted them sightly looser and the swirly twirly s curve was a bit too voluminous. So tried again... I cut down the s curve and the seam allowance, that's why it looks so much shorter. I also widened the sleeve to the original seam allowance at the wrist.  This seems to have worked. I measured the s curve on the pattern against the armscythe and they seemed to match. I went ahead and "mounted the arm piece". It fit so much better than I anticipated, and didn't have to gather or fuss over anything. And here's me with it on, lacing not done up but you get the idea. Could be a touch higher on the shoulder. Could be a curved sleeve like some kirtle patterns have so it's not so bulky especially around th...

Turquoise Landsknecht-ish - final steps

Image
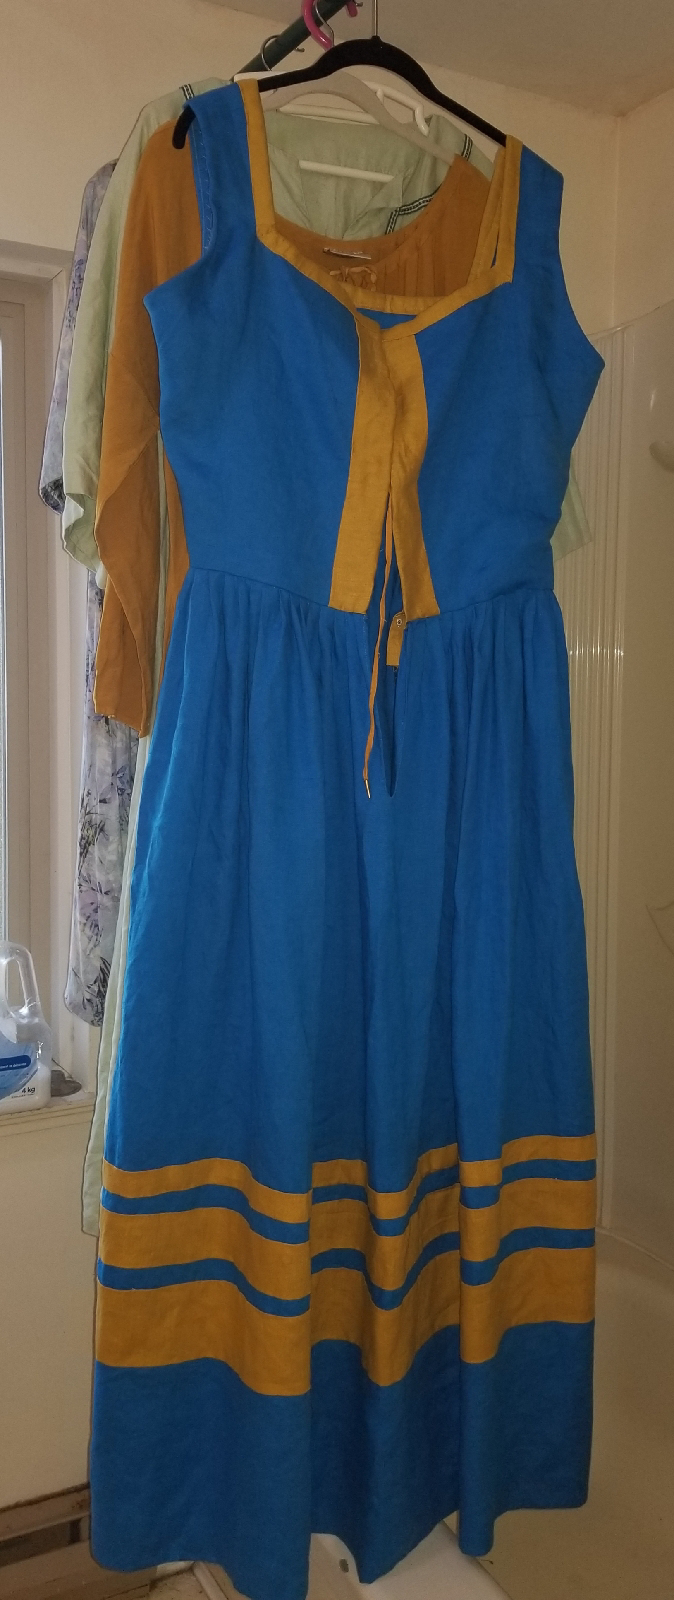
We have a dress! There it is, hanging with the underdress I am hoping to wear, if it isn't too hot (it's poly), and my trusty and very comfortable green linen... Tunic? Kirtle? Underdress? To get here... As the time for the event clicked closer, it was time to quit worrying and to just start the final construction. Skirt... Check. Bodice? Check, but too long in front. Guards? Check, but corners are rough.  To fix the bodice hitting in the wrong spot, I decided to just close my eyes and cut. I laid out the bodice and noticed how much the front overhung the back. I folded, marked, and then... Cut. Terrifying!  Problem solved. Then I made a slit in the front of the skirt and did a little hem. The thread showed more than I wanted but it's ok. The fun part. Pleating! As I am fast running out of time, and I have no court clothes, I pleated the only way I know... Divide and conquer! It's the technique from the pattern of the red ...

Honeycomb smocked apron

Image
Who doesn't need a smocked apron? I took some inspiration from here, and went in with my usual overconfidence. What's the worst that could happen? Where she references A or B smocking, I decided to try technique B.  http://www.medievalsilkwork.com/2010/06/smocked-apron-tutorials.html  I took a piece of linen, about 40 inches wide and I'm not sure how long. Rolled the side seams, then hemmed the bottom. One side always looks better than the other! I used silk thread and I just love how it looks. Then, I centred the smocking, 10 lines, and drew the dots 1cm apart. The dots started to disappear much more quickly than I was prepared for, so that was a drama. I followed Katafalk's tutorial on honeycomb smocking using linen thread (https://katafalk.wordpress.com/2010/02/05/honeycomb-smocking-tutorial/). Overall it will look ok, but I didn't "nail it". The first time I did honeycomb it was around wrists and I had ga...

Turquoise Landsknecht-ish - Bodice

Image
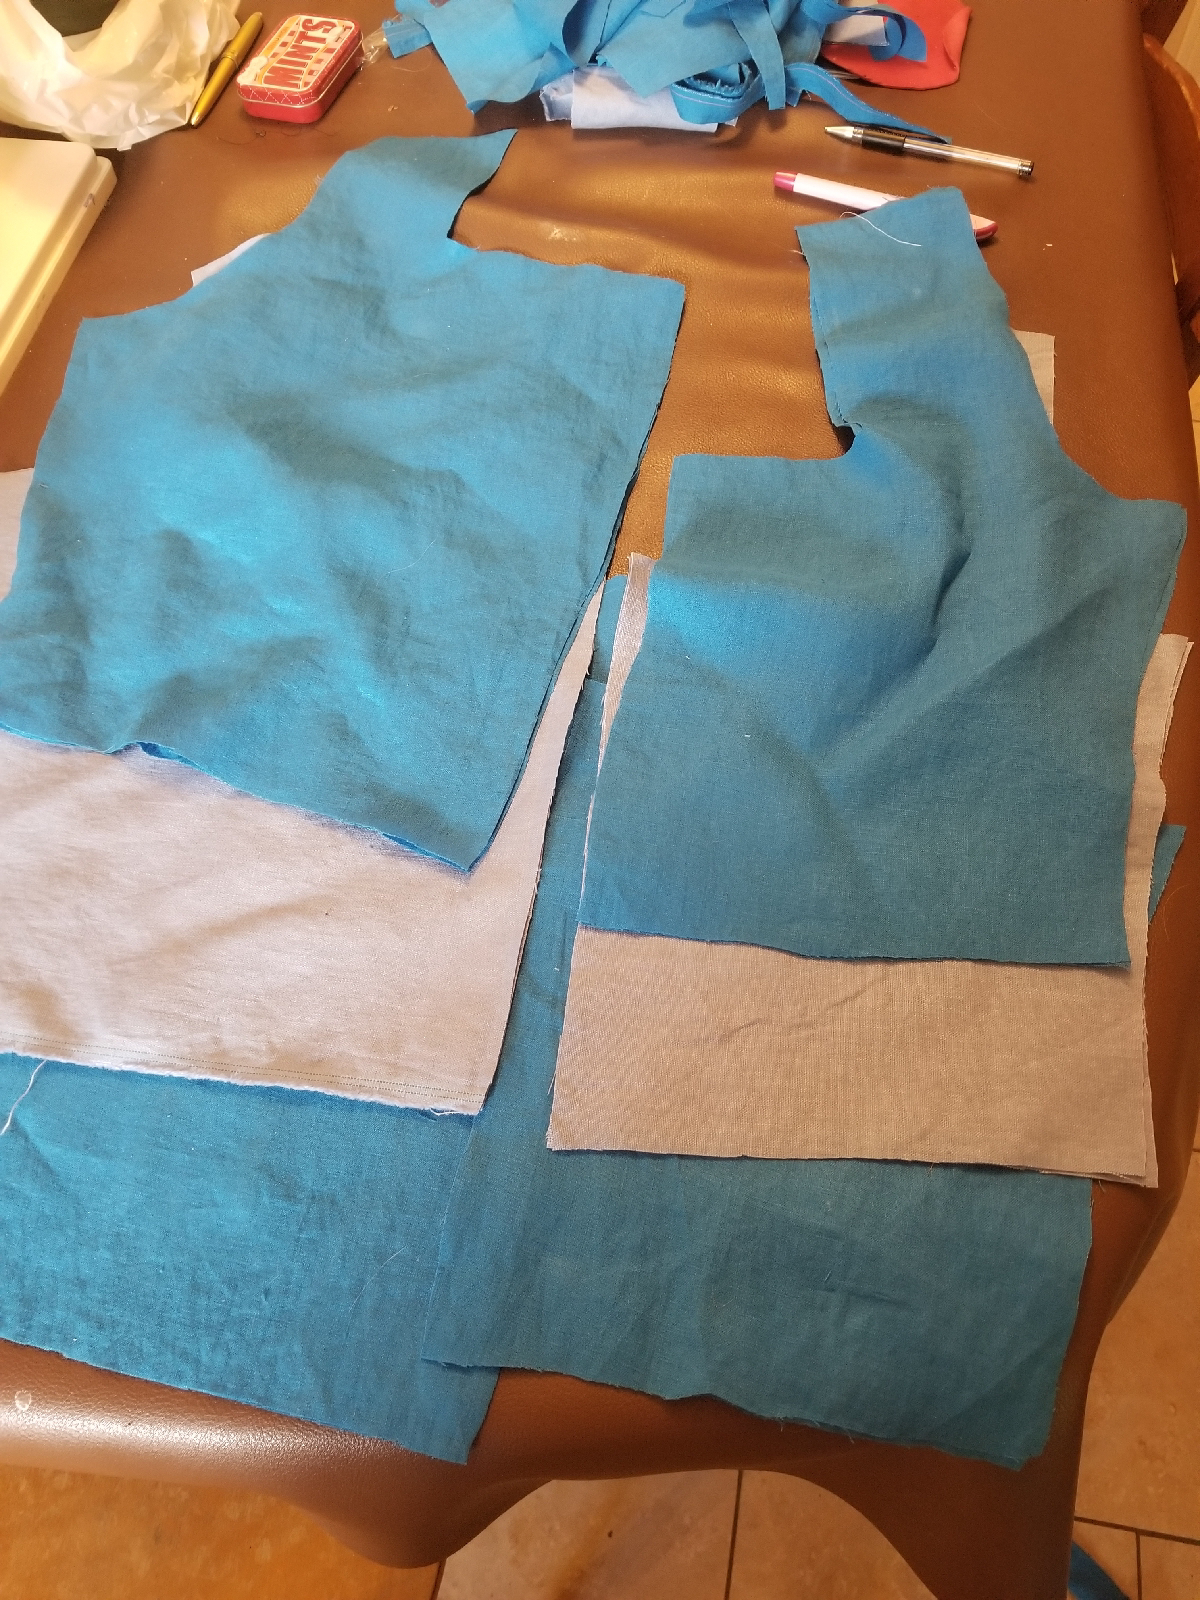
Let's make a bodice. I forged ahead with my original pattern, even though I wasn't 100% thrilled with the fit. I had three layers - outside and lining in the breezy turquoise linen, and I interlined with a sky blue, slightly heavier, linen. I sewed the front and interlining together so I only had to worry about two pieces, an inside and an outside. I did not use period techniques. I used a machine to stitch them together. Like this... Stitching well behind the seam allowance. Next was to stitch together the pieces, first the interlined pieces, then the lining. There's the back join, then under the arms, and lastly at the shoulders. Press for success - ironed all seams open. I then stitched along the front opening and around the back (wrong sides together)... Dangit, look at that bunched seam. I fixed that. Then finally I clipped the corners and turned it right side out. I pressed again. I love to pin, a...

Guards on skirt

I reached out to a very knowledgable person the the SCA who makes absolutely STUNNING outfits. I had heard that Swiss necklines can be more rounded, and wanted her opinion on the matter. I complimented her guards and she said she used a ruler and chalk. I almost fell off my chair. I had used a TAPE MEASURE from the waist down to mark all the spots then pinned. No markings. No straight lines. I literally face palmed, to the amusement of Mr. Now I'm wondering if I have time to redo the guards, but about a month out and I'm still working on lacing holes. I wished my learning process wasn't so learn by doing 🤣 but on the upside now I have a better idea of how to do it next time. That's what these learning garb items are for. Thank you a million times over to Mistress Agnes. May I hope to be half as skilled one day 😊 YIS AW

Turquoise Landsknecht-ish - making a striped skirt (day 2)

Image
Up and at it early today... I really want the skirt done by the end of the weekend, and with other commitments the time slips away. I have pinned the stripes in place on the other panel, and now just waiting for my son to finish his breakfast date so I can pull out the machine. Time to handsew the pieces on the first panel!  Moment of truth... matching up the stripes to see if adjustments are required. Success?  First one I looked at... Bang on!! Was feeling pretty good there. But the other two... They got progressively worse. There must be a better way to do this. Not bad... How am I going to fix this?? Took what I learned and tried eyeballing it from the other side. Here's how stripe match #2 turned out: Well, two out of three ain't bad. I'm done for the night and will take the week to finish the hand sewing and to fuss with the two worst pieces to see what can be done. Luckily...